
🚀 The Digital Fast Lane: Understanding Content Delivery Networks (CDN)
Have you ever noticed how some websites load instantly, even those with tons of high-quality images and videos, while others seem to crawl?
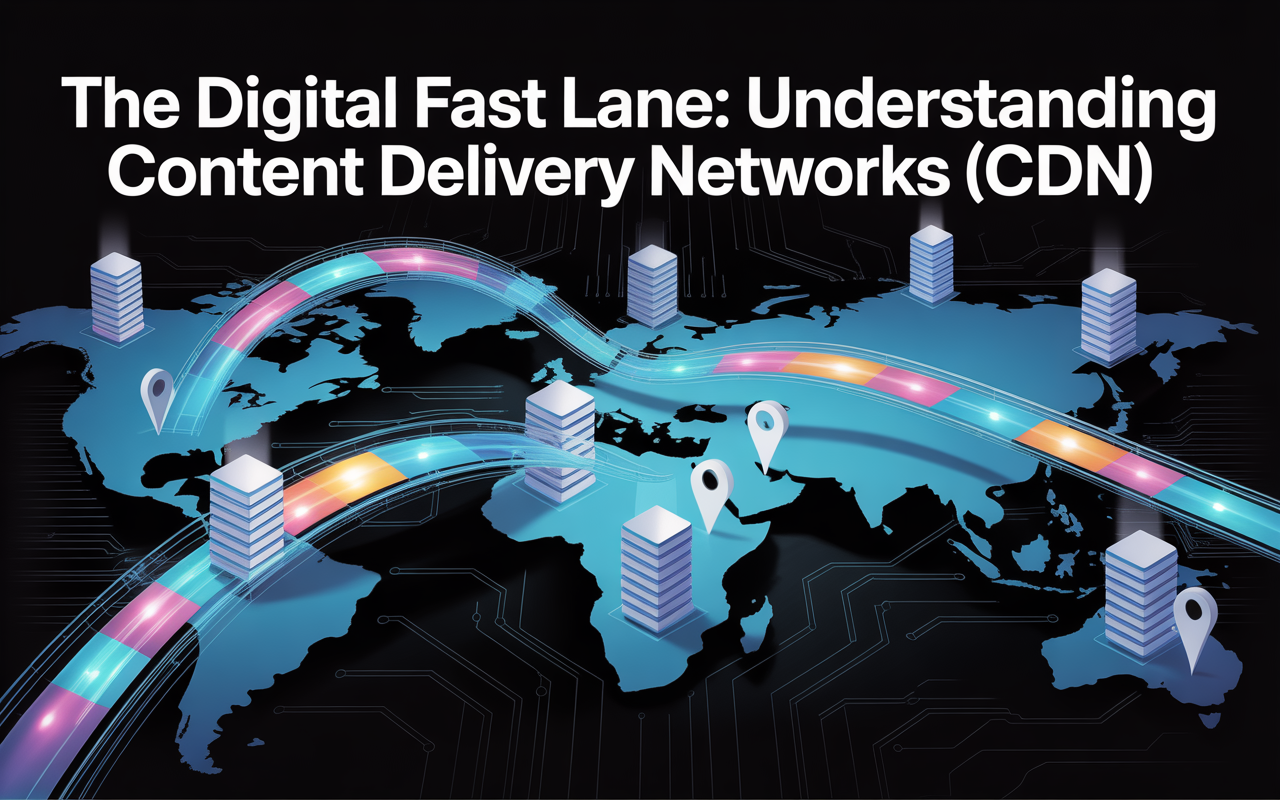
The secret often lies in a technology called a Content Delivery Network (CDN).
In simple terms, a CDN is a globally distributed network of servers whose main job is to bring your website’s content closer to your users.
Think of it like a chain of local grocery stores instead of a single, faraway central warehouse.
When a customer (user) wants an item (your website’s content), they get it from the nearest local store (CDN server) instead of waiting for it to be shipped from the main warehouse (your original web server).
This process of storing copies of your content on these closer servers is called caching, and it dramatically improves the speed and efficiency of content delivery.
🎯 Key Advantages of Using a CDN
The benefits of a CDN extend beyond just making a website load faster. They are crucial for modern, reliable web performance:
- Faster Loading Times (Performance): The most obvious benefit. By serving content from a server geographically closer to the user, the time data needs to travel—known as latency—is drastically reduced. Faster sites lead to better user experience, higher engagement, and improved search engine rankings (SEO).
- Increased Reliability and Uptime: If your main website server were to crash or be overwhelmed by a sudden surge of traffic (like a viral moment or a large sale), the CDN servers can often continue to serve the cached content. This provides redundancy and ensures your website remains available, minimizing downtime.
- Reduced Bandwidth Costs: Web hosts often charge you for the amount of data transferred from your original server. Since the CDN serves most of the content from its cache, it significantly reduces the load on your origin server, which can lead to lower hosting and bandwidth bills.
- Enhanced Security: Many CDNs offer built-in security features, acting as a shield for your origin server. They are very effective at mitigating large-scale attacks, such as Distributed Denial-of-Service (DDoS) attacks, by absorbing and distributing the malicious traffic across their vast network.
🛑 Potential Disadvantages
While the pros generally outweigh the cons for high-traffic or global websites, there are a few drawbacks to consider:
- Cost and Complexity: For very small or low-traffic personal sites, the monthly fee for a premium CDN might be an unnecessary expense. Even for free CDN services, adding a CDN introduces an extra step and a layer of complexity to your website’s setup and maintenance.
- Data Control and Dependency: You are trusting a third-party company (the CDN provider) with copies of your content. You also become dependent on their network. If the CDN service itself experiences an outage, it can impact your website’s delivery.
- Cache Management Issues: Sometimes, when you update a file on your original server (e.g., a new product image), the CDN may still serve the old, cached version until the cache “expires” or is manually cleared, a process called a purge. Managing this can sometimes be tricky.
🗺️ A Non-Technical Guide to Choosing a CDN
As a non-technical user, you don’t need to worry about the intricate technical details, but you should focus on a few key business-level factors when selecting a CDN provider:
1. Identify Your Audience’s Geography
- Question to Ask: Where are the majority of my website visitors located?
- Focus: Choose a CDN that has a strong network of local servers (called Points of Presence or PoPs) in the countries where your customers live. A CDN that’s great in North America might be weak in Southeast Asia, and vice-versa.
2. Determine Your Budget and Traffic
- Question to Ask: How much traffic do I expect, and what is my budget?
- Focus: Pricing varies widely. Some offer free tiers (like Cloudflare) which are excellent for small websites. Others use a pay-as-you-go model based on bandwidth usage, which might be better for sites with unpredictable, high traffic. Look for transparent pricing without hidden fees.
3. Prioritize Necessary Features
- Question to Ask: Do I need speed only, or do I need security and video streaming, too?
- Focus:
- Security: If your site handles user data (like an e-commerce store), look for built-in DDoS protection and Web Application Firewalls (WAF).
- Content Type: If you host a lot of large files (like videos or software downloads), choose a CDN that specializes in media streaming and large file delivery.
- Simplicity: If you use a common platform like WordPress, look for providers that offer easy-to-install plugins or simple one-click integrations.
4. Check for Reliable Support and Documentation
- Question to Ask: If something goes wrong, can I get help quickly?
- Focus: Read reviews about their customer support. If you are on a free or low-tier plan, you often get limited support, so excellent self-help documentation and an active community forum become even more important.
In conclusion, a CDN acts as a global acceleration layer for your website, ensuring your content is delivered as fast and reliably as possible, which is critical for a positive user experience in today’s fast-paced digital world.
💸 The Best CDN Options for Small Businesses: Free & Affordable
You’re smart to look for an easy and affordable CDN solution!
For small businesses, new websites, or blogs, the goal is maximum performance with minimum cost and technical hassle.
Based on ease of setup, features, and pricing models, here are the top recommended CDN providers for non-technical users and small businesses:
🥇 Top Recommendation: Cloudflare (The Best Free Tier)
| Feature | Detail | Best For |
| Pricing | Free Plan (Generous, permanent), Pro ($20/month) | Anyone starting out, small businesses prioritizing free security and performance. |
| Ease of Setup | Very Easy (Requires changing your domain’s nameservers, which is often done with a simple click on your domain registrar). Excellent WordPress integration. | |
| Key Strengths | World-class DDoS protection and Web Application Firewall (WAF) are included in the free tier, making it a powerful security shield. It also offers a massive global network. | |
| Drawbacks | Can feel complex if you start exploring the advanced settings. Free support is limited to their extensive documentation and community forums. |
Pro Tip: Cloudflare doesn’t just provide a CDN; it acts as a proxy and security layer for your entire website. This is the simplest and most powerful way for a beginner to get an instant speed and security boost.
🥈 Most Cost-Effective/Pay-As-You-Go: Bunny.net
| Feature | Detail | Best For |
| Pricing | Extremely Low Pay-As-You-Go (Starts at approximately $0.01/GB in North America/Europe). Minimum monthly charge is typically $1. | Sites with moderate, predictable traffic that want the absolute lowest cost per GB. |
| Ease of Setup | Easy (Simple control panel and excellent, dedicated WordPress plugin). | |
| Key Strengths | Outstanding value for money. Known for great performance despite the low price. Their pricing is transparent and you only pay for the bandwidth you use, not a high minimum fee. | |
| Drawbacks | Does not have a full, permanent free tier (though it offers a free trial). Security features are not as comprehensive as Cloudflare’s free tier. |
🥉 Best for Simple File Delivery: KeyCDN
| Feature | Detail | Best For |
| Pricing | Pay-As-You-Go (Starts around $0.04/GB in most zones). Minimum monthly fee is $4. | Small sites, blogs, and developers who need a simple, no-fuss caching service. |
| Ease of Setup | Very Easy and straightforward interface. Known for being developer-friendly with simple integration. | |
| Key Strengths | Focuses on speed and reliability. Offers a 14-day free trial with 25 GB of traffic. Excellent for speeding up static assets like images, CSS, and JavaScript. | |
| Drawbacks | The pay-as-you-go model can be slightly more expensive than Bunny.net’s very low rates, and it has a higher minimum monthly charge. |
🚦 Simple Next Steps for a Non-Technical User
If you have a standard website or WordPress blog, here is the most straightforward path to implementing a CDN:
- Start with Cloudflare (Free Plan): Go to their website and sign up for the free plan.
- Add Your Site: Cloudflare will prompt you to enter your website address.
- Change Your Nameservers: This is the only slightly technical step, but Cloudflare provides simple instructions. You will log into your domain registrar (where you bought your domain name, like GoDaddy or Namecheap) and replace the existing nameserver addresses with the two nameserver addresses Cloudflare gives you.
- Install a Plugin (for WordPress): If you use WordPress, install the official Cloudflare plugin to make sure your cache is cleared automatically when you update a post or page.
Once this is complete, your website traffic will automatically be routed through the Cloudflare network, giving you an immediate boost in speed and security—all for free!